
making our interior selections
Going into making interior selections such as the flooring, cabinets, and countertops was exciting since it’s the only time we actually have full control of what we want. On the first floor, our community included a few upgrades:
Upgraded cabinets on the main floor (kitchen)
We did decide to upgrade our cabinets in the master bathroom since we liked the darker look.
Upgraded flooring to LVP on the main floor (kitchen, powder room, foyer, and family entrance)
The biggest concern here was how much everything else would cost! From the research we did in Ryan Homes or New Build Facebook groups and blogs, we were looking at about ~$10,000-$15,000 in interior upgrades. We ended up spending about $7,500. Keep in mind that this might differ for you if you’re not building a Columbia or if your community provides different incentives.
I had made plans to include the breakdown of everything here, but I didn’t manage to take a picture of the breakdown of costs depending on what we decide to select. To detail this to the best of my ability, our design consultant had a breakdown of each room and how much each type of selection or upgrade would cost in roughly three tiers: Tier A, Tier B, and Tier C. Some had more tiers and some had less, depending on how many different options there were. For things that didn’t fit into tier upgrades, there was a separate section for that information. With that being said, utilize your design consultant as much as you can! They have seen many selections and can offer you a lot of insight if you are in-between decisions, or if you’re unsure if you want to stick with something more modern or something more traditional.
Before our meeting, our design consultant set out the colors of our cabinets and countertops we selected with our sales representative before this meeting.
Carpet
We started off picking carpet. Through our research and reaching out to our sales representative, realtor, and friends, we knew that we wanted to upgrade the padding to 8lb padding. We did the upgraded padding for all locations with carpet, since we have a little chihuahua who is getting older in age and we want it to be as plush as possible for her knees.
Our design consultant talked through the different types of carpets she had, the differences between each one, and what most of her clients choose. We tested each of the carpets on top of the 8lb padding to see which one felt the most comfortable to us and if it was worth an upgrade. We stuck with the first tier and and chose a greyish, somewhat taupey carpet depending on the lighting and angle (pictures at the end of the post).
Location of Carpet:
Second floor (bedrooms)
Basement
Study Room
Stairs
LVP (Luxury Vinyl Plank)
Next, we looked at LVP color selections. The color selection was a bit difficult— we were deciding between going more light or more dark, but decided to find a nice happy medium!
One of the decisions we had to make here was to figure out if we wanted to upgrade our living room from carpet to LVP. We decided to upgrade the living room to LVP and make the whole first floor, besides the study, LVP so that the transition could be easier. We decided not to upgrade the study room to LVP for a few reasons.
The study won’t be used too much by many people other than my boyfriend or myself.
We can close the study room doors so that no dirty shoes pass. :)
Our pup will most likely be chilling in this room a lot and she’ll like to have some plush and soft carpeting.
Location of LVP:
Kitchen
Living Room
Powder Room
Family Entrance
Foyer
Vinyl / Tile
While the community included LVP on the main floor, it didn’t include the bathrooms upstairs, the bathroom in the basement, and the laundry room on the second floor. My boyfriend was adamant about getting tile in the bathrooms. We chose two tiles that matched the cabinets in the master bathroom and the other two bathrooms accordingly. For the laundry room, we did our best to find a vinyl that was a similar match to the tile that will be in the secondary bathrooms. We decided not to upgrade to tiling in the laundry room, since we won’t be using the laundry room for laundry, but more for linen storage.
Location of Vinyl:
Laundry Room
Location of Tile:
Master Bathroom
Main Bathroom
Basement Bathroom
Railing Stain / Backsplash / Grout Colors / Etc
For the railing stain, we actually didn’t have much of an opinion and went with a color that our design consultant said most people decide on with the color of LVP we selected.
My boyfriend wanted to select backsplash, as well, since we probably wouldn’t get to doing it until much later. We thought it was also reasonably priced so we went for it.
For grout, I decided to pick colors that would closely match and blend the tiles together. For shower tiles and backsplash, we chose a simple white to keep things looking clean!
Our design consultant also asked us if we wanted some shelving in the bathrooms, as well, but we decided against that since it would take away from shower space.
Pictures
And finally some pictures!


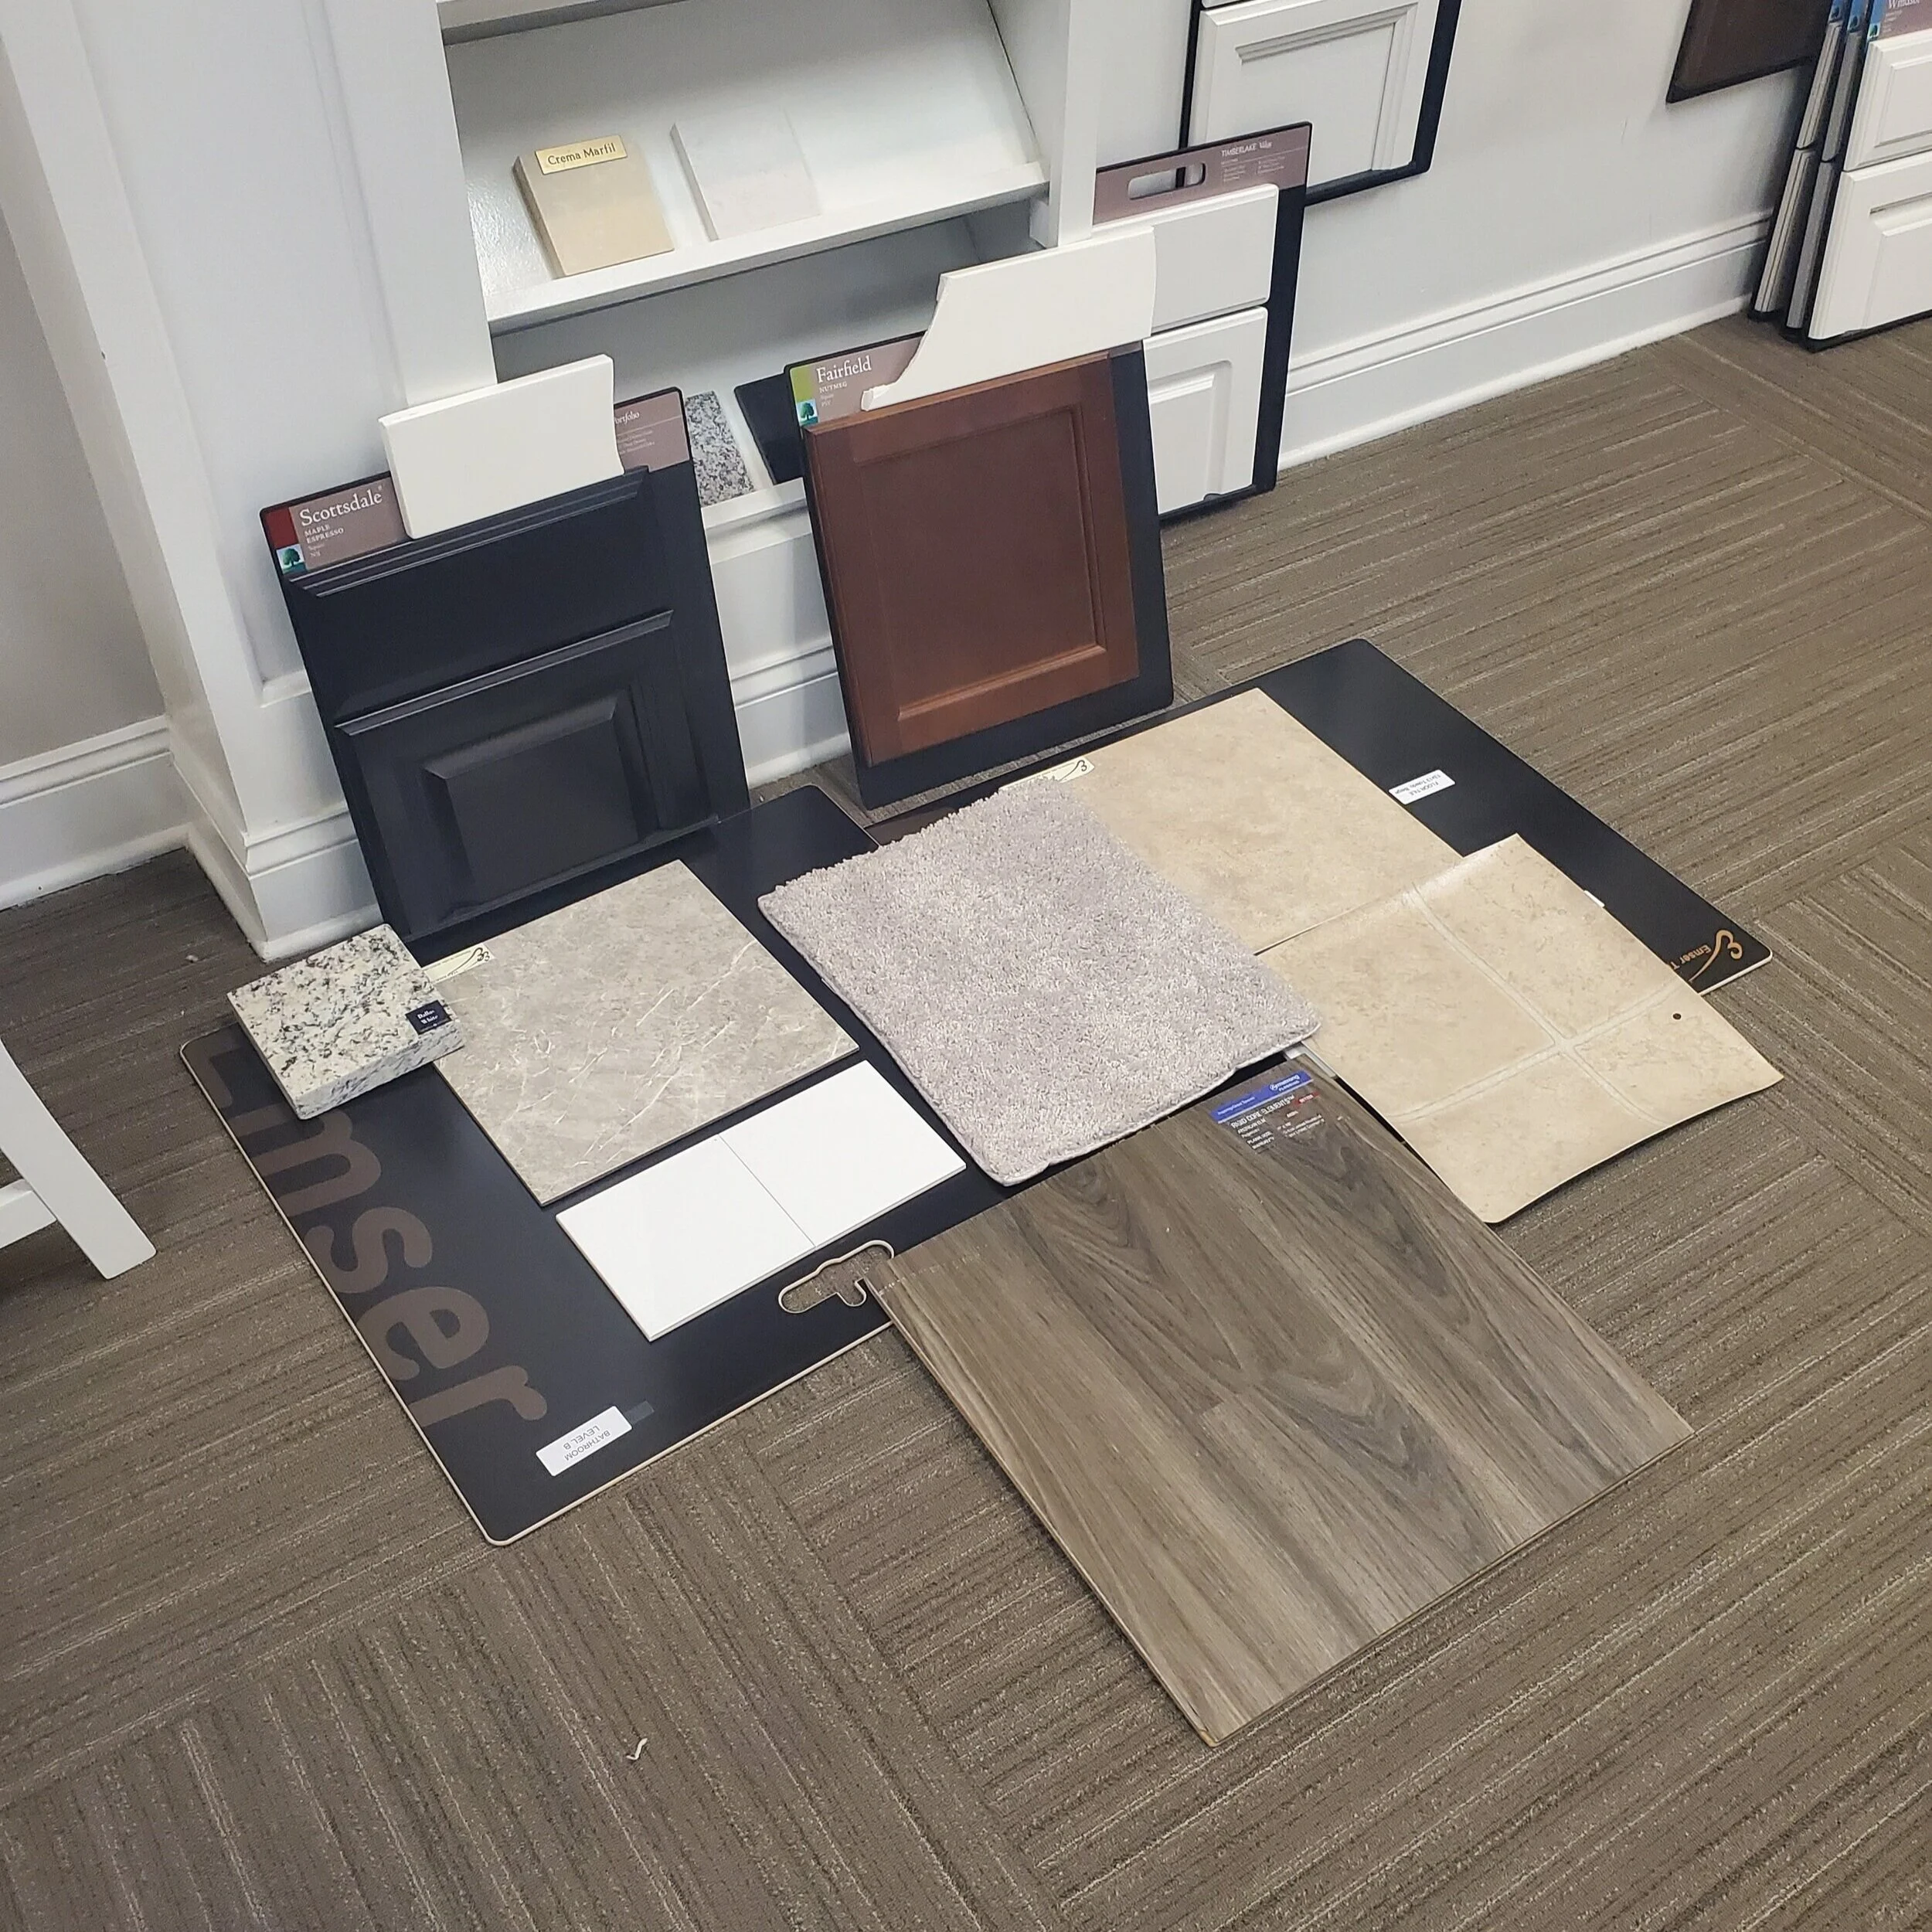

Color Selections
Cabinets
Fairfield Nutmeg
Main Bathroom
Basement Bathroom
Scottsdale Maple Espresso
Master Bathroom
Kitchen
Carpet
Silver Mist
Bedrooms
2nd floor Hallway
Study
LVP
Peppercorn
Vinyl
Chamois
Tiles
Toledo Beige
Havana Gray
PRO TIPS:
Utilize your design consultant as best as you can! They’ll be able to guide you towards a decision if you’re indecisive or give you a general idea of what other clients tend to choose given a similar color scheme.
Ask questions to compare the differences between flooring upgrades to see if it is worth the time and money.
Take all of the time you need when picking your interior selections! Lay out all of your choices together and switch them out with one another until you’re satisfied.
